欢迎光临
请一秒记住我们的网址:www.xinfangs.com !

WordPress教程-实现自动分页方法

时间煮雨阅读(1010)

在制作WordPress主题模板时,我们会用到循环输出文章列表,文章列表太多就会有分页的问题,下面是一种分页方法,十分好用,可以设定页数范围。
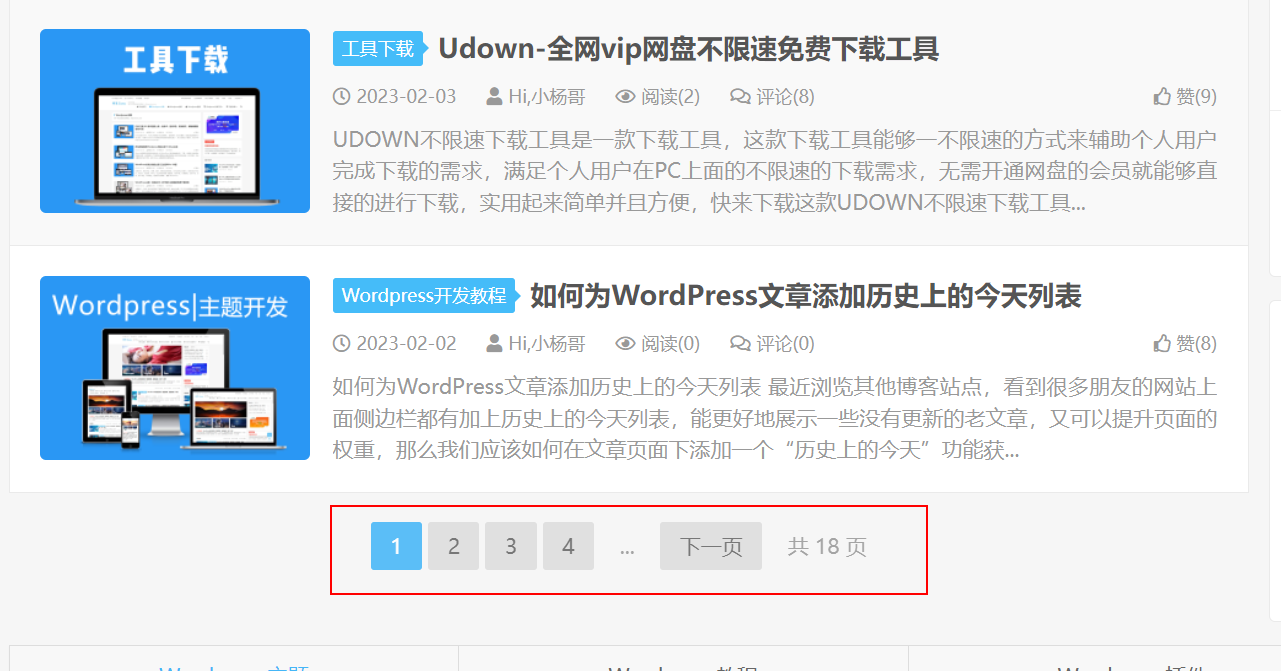
1.将下面的代码放在主题目录下的 function.php 中

function get_pagenavi( $range = 4 ) {
	global $paged,$wp_query;
	if ( !$max_page ) {
		$max_page = $wp_query->max_num_pages;
	}
	if( $max_page >1 ) {
		if( !$paged ) {
			$paged = 1;
		}
		echo "<li>";
		previous_posts_link('上一页');
		echo"</li>";
		if ( $max_page >$range ) {
			if( $paged <$range ) {
				for ( $i = 1; $i <= ($range +1); $i++ ) {
					echo "<li><a href='".get_pagenum_link($i) ."'";
					if($i==$paged) echo " class='current'";
					echo ">$i</a></li>";
				}
			} elseif($paged >= ($max_page -ceil(($range/2)))) {
				for ($i = $max_page -$range;$i <= $max_page;$i++) {
					echo "<li><a href='".get_pagenum_link($i) ."'";
					if($i==$paged)echo " class='current'";
					echo ">$i</a></li>";
				}
			} elseif($paged >= $range &&$paged <($max_page -ceil(($range/2)))) {
				for ($i = ($paged -ceil($range/2));$i <= ($paged +ceil(($range/2)));$i++) {
					echo "<li><a href='".get_pagenum_link($i) ."'";
					if($i==$paged) echo " class='current'";
					echo ">$i</a></li>";
				}
			}
		} else {
			for ($i = 1;$i <= $max_page;$i++) {
				echo "<li><a href='".get_pagenum_link($i) ."'";
				if($i==$paged)echo " class='current'";
				echo ">$i</a></li>";
			}
		}
		echo "<li>";
		next_posts_link('下一页');
		echo"</li>";
		echo '<li><span>共'.$max_page.'页</span></li>';
	}
}

在你需要的地方使用下面的代码调用:

<div class="pagination"> <ul> <?php get_pagenavi();?> </ul> </div>

结束,大功告成。拿去自己的主题试试吧。

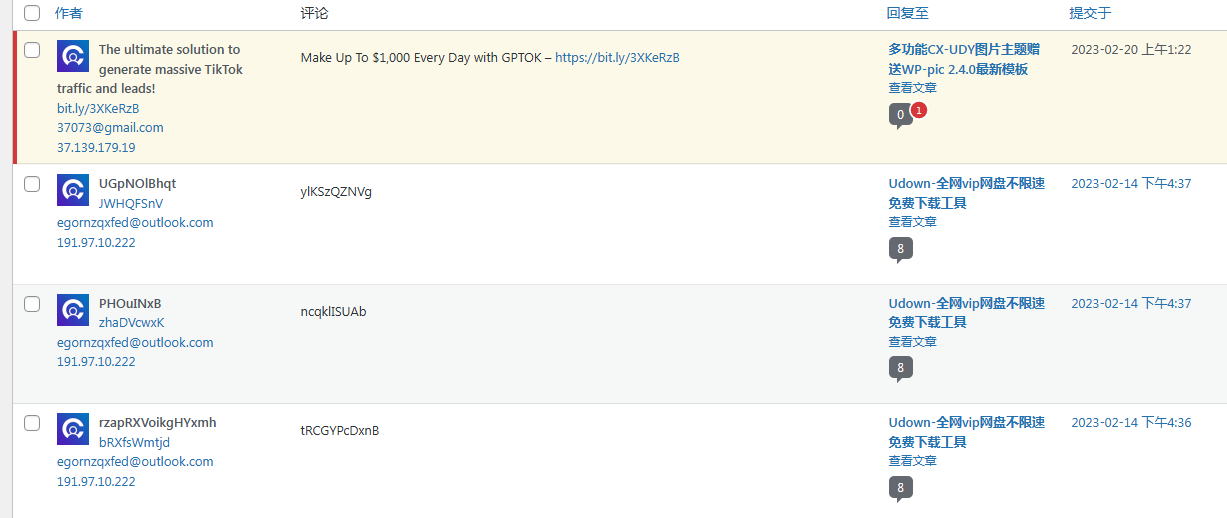
纯代码实现禁止WordPress纯英文垃圾评论

时间煮雨阅读(1052)


请把所需的代码复制到当前主题的 funtions.php 文件最后一个 ?> 的前面即可。

1、禁止全英文或者日文的评论

// 屏蔽纯英文评论和纯日文
function refused_english_comments($incoming_comment) {
$pattern = '/[一-龥]/u';
// 禁止全英文评论
if(!preg_match($pattern, $incoming_comment['comment_content'])) {
wp_die( "您的评论中必须包含汉字!" );
}
$pattern = '/[あ-んア-ン]/u';
// 禁止日文评论
if(preg_match($pattern, $incoming_comment['comment_content'])) {
wp_die( "评论禁止包含日文!" );
}
return( $incoming_comment );
}
add_filter('preprocess_comment', 'refused_english_comments');

2、禁止全英文、日文、俄文、韩文、阿拉伯文、泰文的评论

// 禁止全英日俄韩阿泰语评论
function ssdax_comment_all_post( $incoming_comment ) {
$enpattern = '/[一-龥]/u';
$jpattern ='/[ぁ-ん]+|[ァ-ヴ]+/u';
$ruattern ='/[А-я]+/u';
$krattern ='/[갂-줎]+|[줐-쥯]+|[쥱-짛]+|[짞-쪧]+|[쪨-쬊]+|[쬋-쭬]+|[쵡-힝]+/u';
$arattern ='/[؟-ض]+|[ط-ل]+|[م-م]+/u';
$thattern ='/[ก-๛]+/u';
if(!preg_match($enpattern, $incoming_comment['comment_content'])) {
err( "写点汉字吧,博主外语很捉急! Please write some chinese words!" );
}
if(preg_match($jpattern, $incoming_comment['comment_content'])){
err( "日文滚粗!Japanese Get out!日本語出て行け!" );
}
if(preg_match($ruattern, $incoming_comment['comment_content'])){
err( "北方野人讲的话我们不欢迎!Russians, get away!Savage выйти из Русского Севера!" );
}
if(preg_match($krattern, $incoming_comment['comment_content'])){
err( "思密达的世界你永远不懂!Please do not use Korean!하시기 바랍니다 한국 / 한국어 사용하지 마십시오!" );
}
if(preg_match($arattern, $incoming_comment['comment_content'])){
err( "禁止使用阿拉伯语!Please do not use Arabic!!من فضلك لا تستخدم اللغة العربية" );
}
if(preg_match($thattern, $incoming_comment['comment_content'])){
err( "人妖你好,人妖再见!Please do not use Thai!กรุณาอย่าใช้ภาษาไทย!" );
}
return( $incoming_comment );
}
add_filter('preprocess_comment', 'ssdax_comment_all_post');

3、禁止评论内容带有链接

//禁止发链接
function wp_comment_post( $incoming_comment ) {
$http = '/[href="|rel="nofollow"|http:\/\/|<\/a>]/u';
if(preg_match($http, $incoming_comment['comment_content'])) {
err( "禁止发链接地址!" );
}
return( $incoming_comment );
}
add_filter('preprocess_comment', 'wp_comment_post');

如何为WordPress文章添加历史上的今天列表

时间煮雨阅读(1977)

如何为WordPress文章添加历史上的今天列表

最近浏览其他博客站点,看到很多朋友的网站上面侧边栏都有加上历史上的今天列表,能更好地展示一些没有更新的老文章,又可以提升页面的权重,那么我们应该如何在文章页面下添加一个“历史上的今天”功能获取老文章列表予以展示呢?下面就来教大家制作方法。

该功能代码取至柳城大佬的 wp-today 插件,具体实现方法将以下代码添加到function.php文件末尾即可。

//历史上的今天,代码来自柳城博主的 WP-Today 插件
function wp_today(){
    global $wpdb;
    $post_year = get_the_time('Y');
    $post_month = get_the_time('m');
    $post_day = get_the_time('j');
    $sql = "select ID, year(post_date_gmt) as h_year, post_title, comment_count FROM 
            $wpdb->posts WHERE post_password = '' AND post_type = 'post' AND post_status = 'publish'
            AND year(post_date_gmt)!='$post_year' AND month(post_date_gmt)='$post_month' AND day(post_date_gmt)='$post_day'
            order by post_date_gmt DESC limit 5";
    $histtory_post = $wpdb->get_results($sql);
    if( $histtory_post ){
        foreach( $histtory_post as $post ){
            $h_year = $post->h_year;
            $h_post_title = $post->post_title;
            $h_permalink = get_permalink( $post->ID );
            $h_comments = $post->comment_count;
            $h_post .= "<li><strong>$h_year:</strong>  <a href='".$h_permalink."' title='".$h_post_title."' target='_blank' rel="noopener">$h_post_title($h_comments)</a></li>";
        }
    }
    if ( $h_post ){
        $result = "<h2>历史上的今天:</h2><ul>".$h_post."</ul>";
    }
    return $result;
}
function wp_today_auto($content){
    if( is_single() ){
        $content = $content.wp_today();
    }
    return $content;
}
add_filter('the_content', 'wp_today_auto',9999);

上述代码默认是在文章结尾自动添加。

如果需要自定义显示位置,则只需去掉上述代码的以下部分。

function wp_today_auto($content){
        if( is_single() ){
            $content = $content.wp_today();
        }
        return $content;
    }
add_filter('the_content', 'wp_today_auto',9999);

然后在需要显示的位置用下面函数调用即可。

<?php echo wp_today(); ?>

样式文件的话没有调整,大家根据自己喜好自行调整一下吧。

网站改版结束-四不像主题来了,请君鉴赏,指正

时间煮雨阅读(919)

网玩站就要有一个随意折腾的心,历经一周,网站改版暂时可以停一段落了。本站基于DUX主题,二次魔改,添加了一此其它实用的功能,不过因本人技术能力有限,网站可能存在一些未知BUG!在访问本站时,若出现一些错误,请及时在本站留言说明,谢谢~

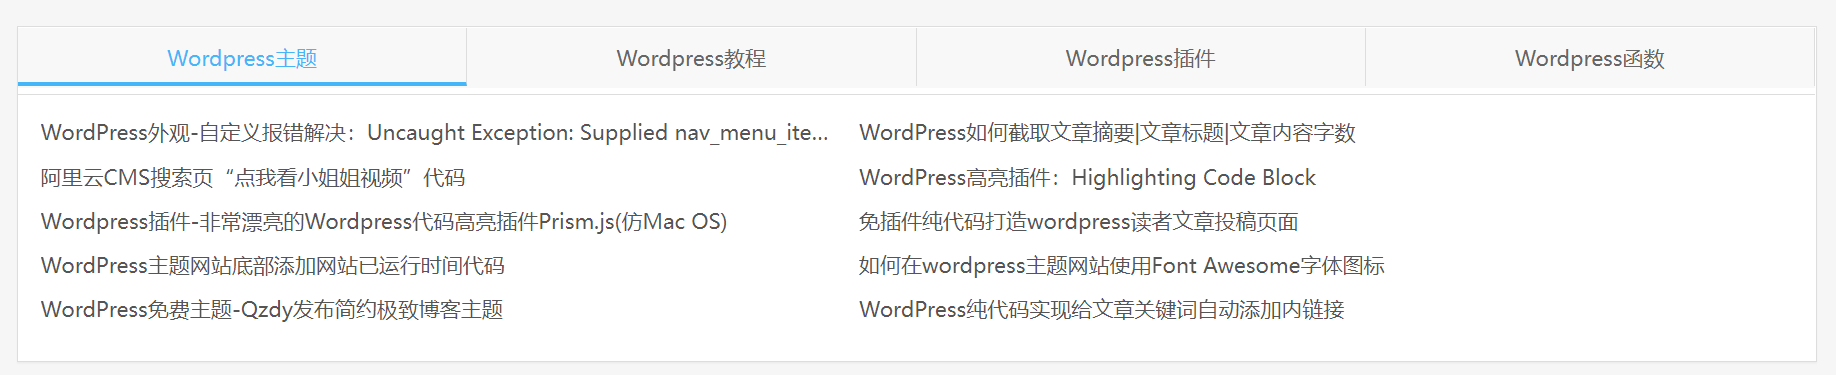
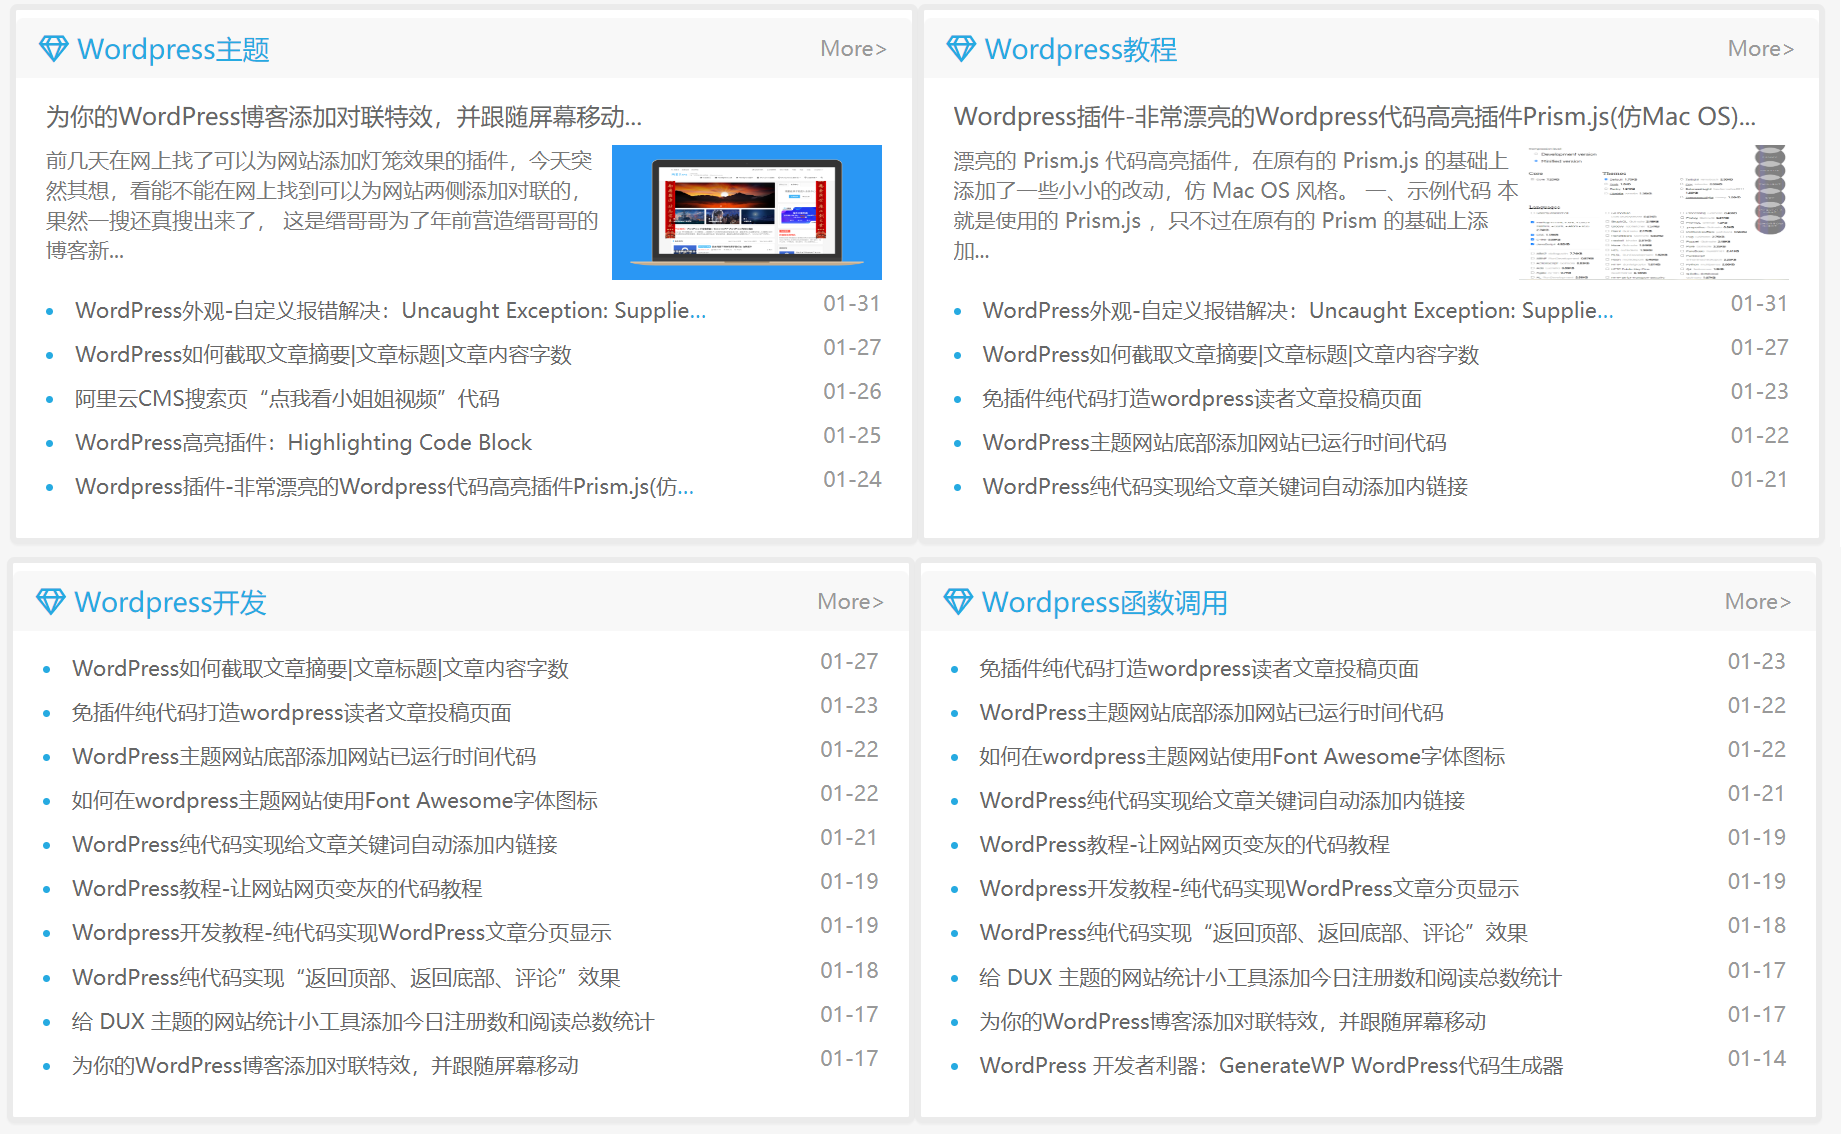
先来看看主站效果图吧:

这次网站魔改,首页先是增加了四栏文章,双栏有图,双栏无图,重新美化了友情链接的样式,又增加了现在网站主流的文章投稿,友情链接自助申请,留言面板也重做了调整,使各个功能在使用上,更符合本身的需求。我们就先来看有哪些变化吧。

1.首页增加了四栏样式文章展示栏


调整后网站首页可以按照自己的需求展示更多的内容,这个栏目在侧栏用法比较多,主流是最新发布,最新评论,最热文章 一类的,这里是可以按我们自己的需求展示自己需要展示的分类目录。

2.首页增加了双栏有图,无图的两个栏目


我们此次的目的是想在首页多展示些我们需要展示的内容,并且还不会显得那么单调,同时在多展示内容的同时,栏目间还可以按照自己的需求去展示更多的广告,为自己创收吧。

3.更改了友情链接样式,做了自适应,更符合手机用户的习惯

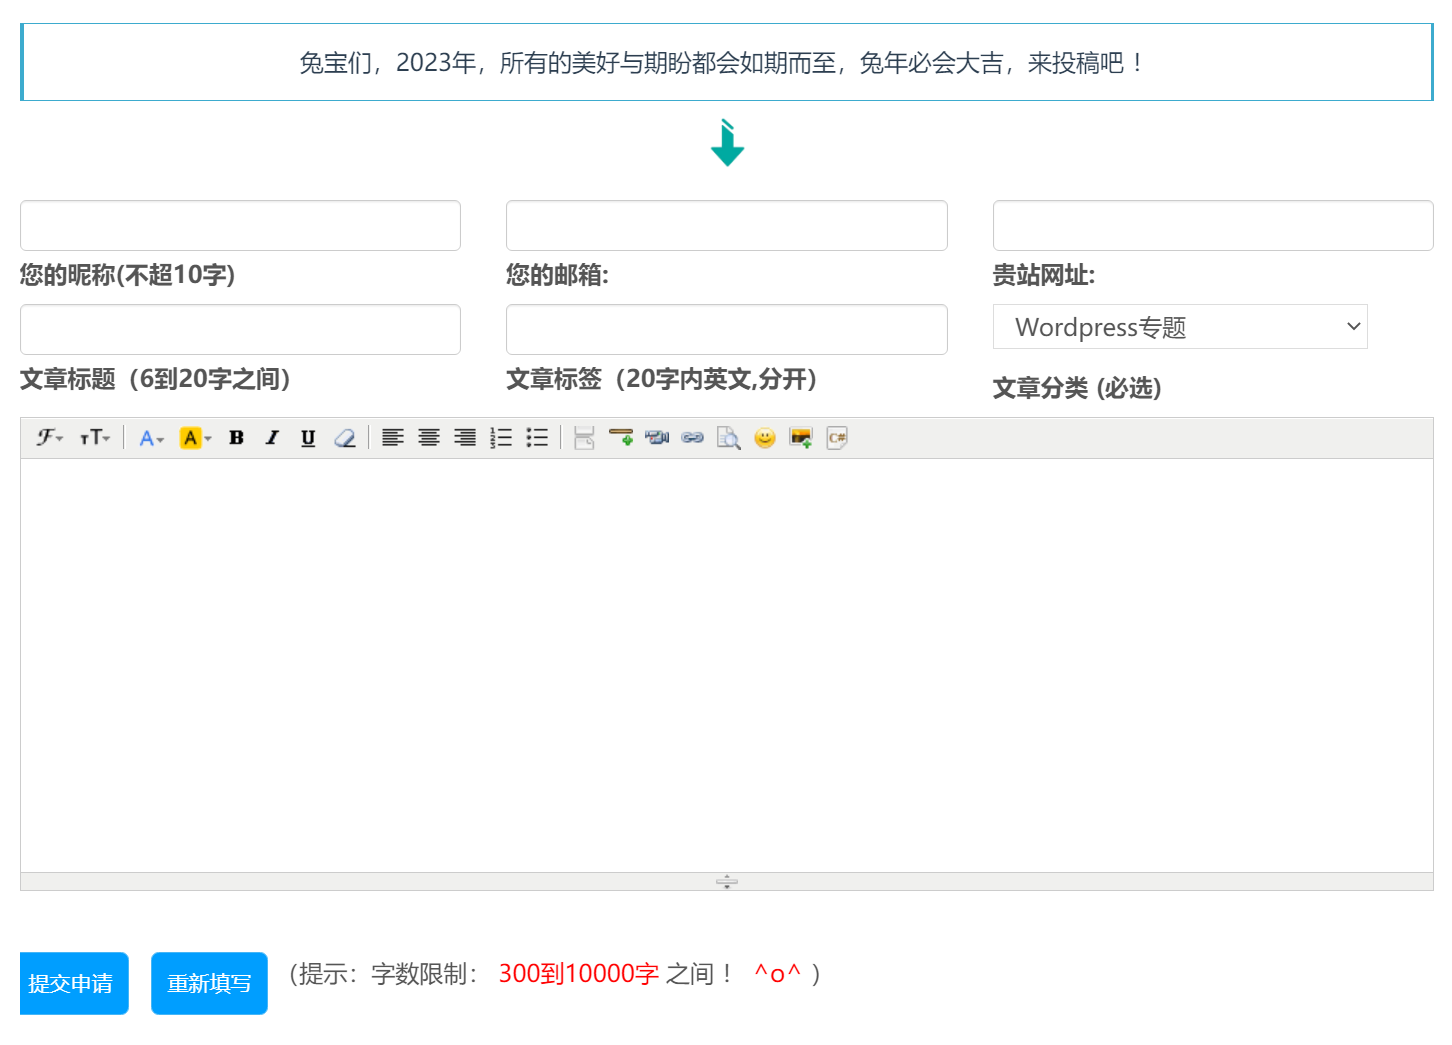
4.增加了文章投稿页面。

5.重新调整了讨论留言板的样式

6.增加了友情链接自助申请页面

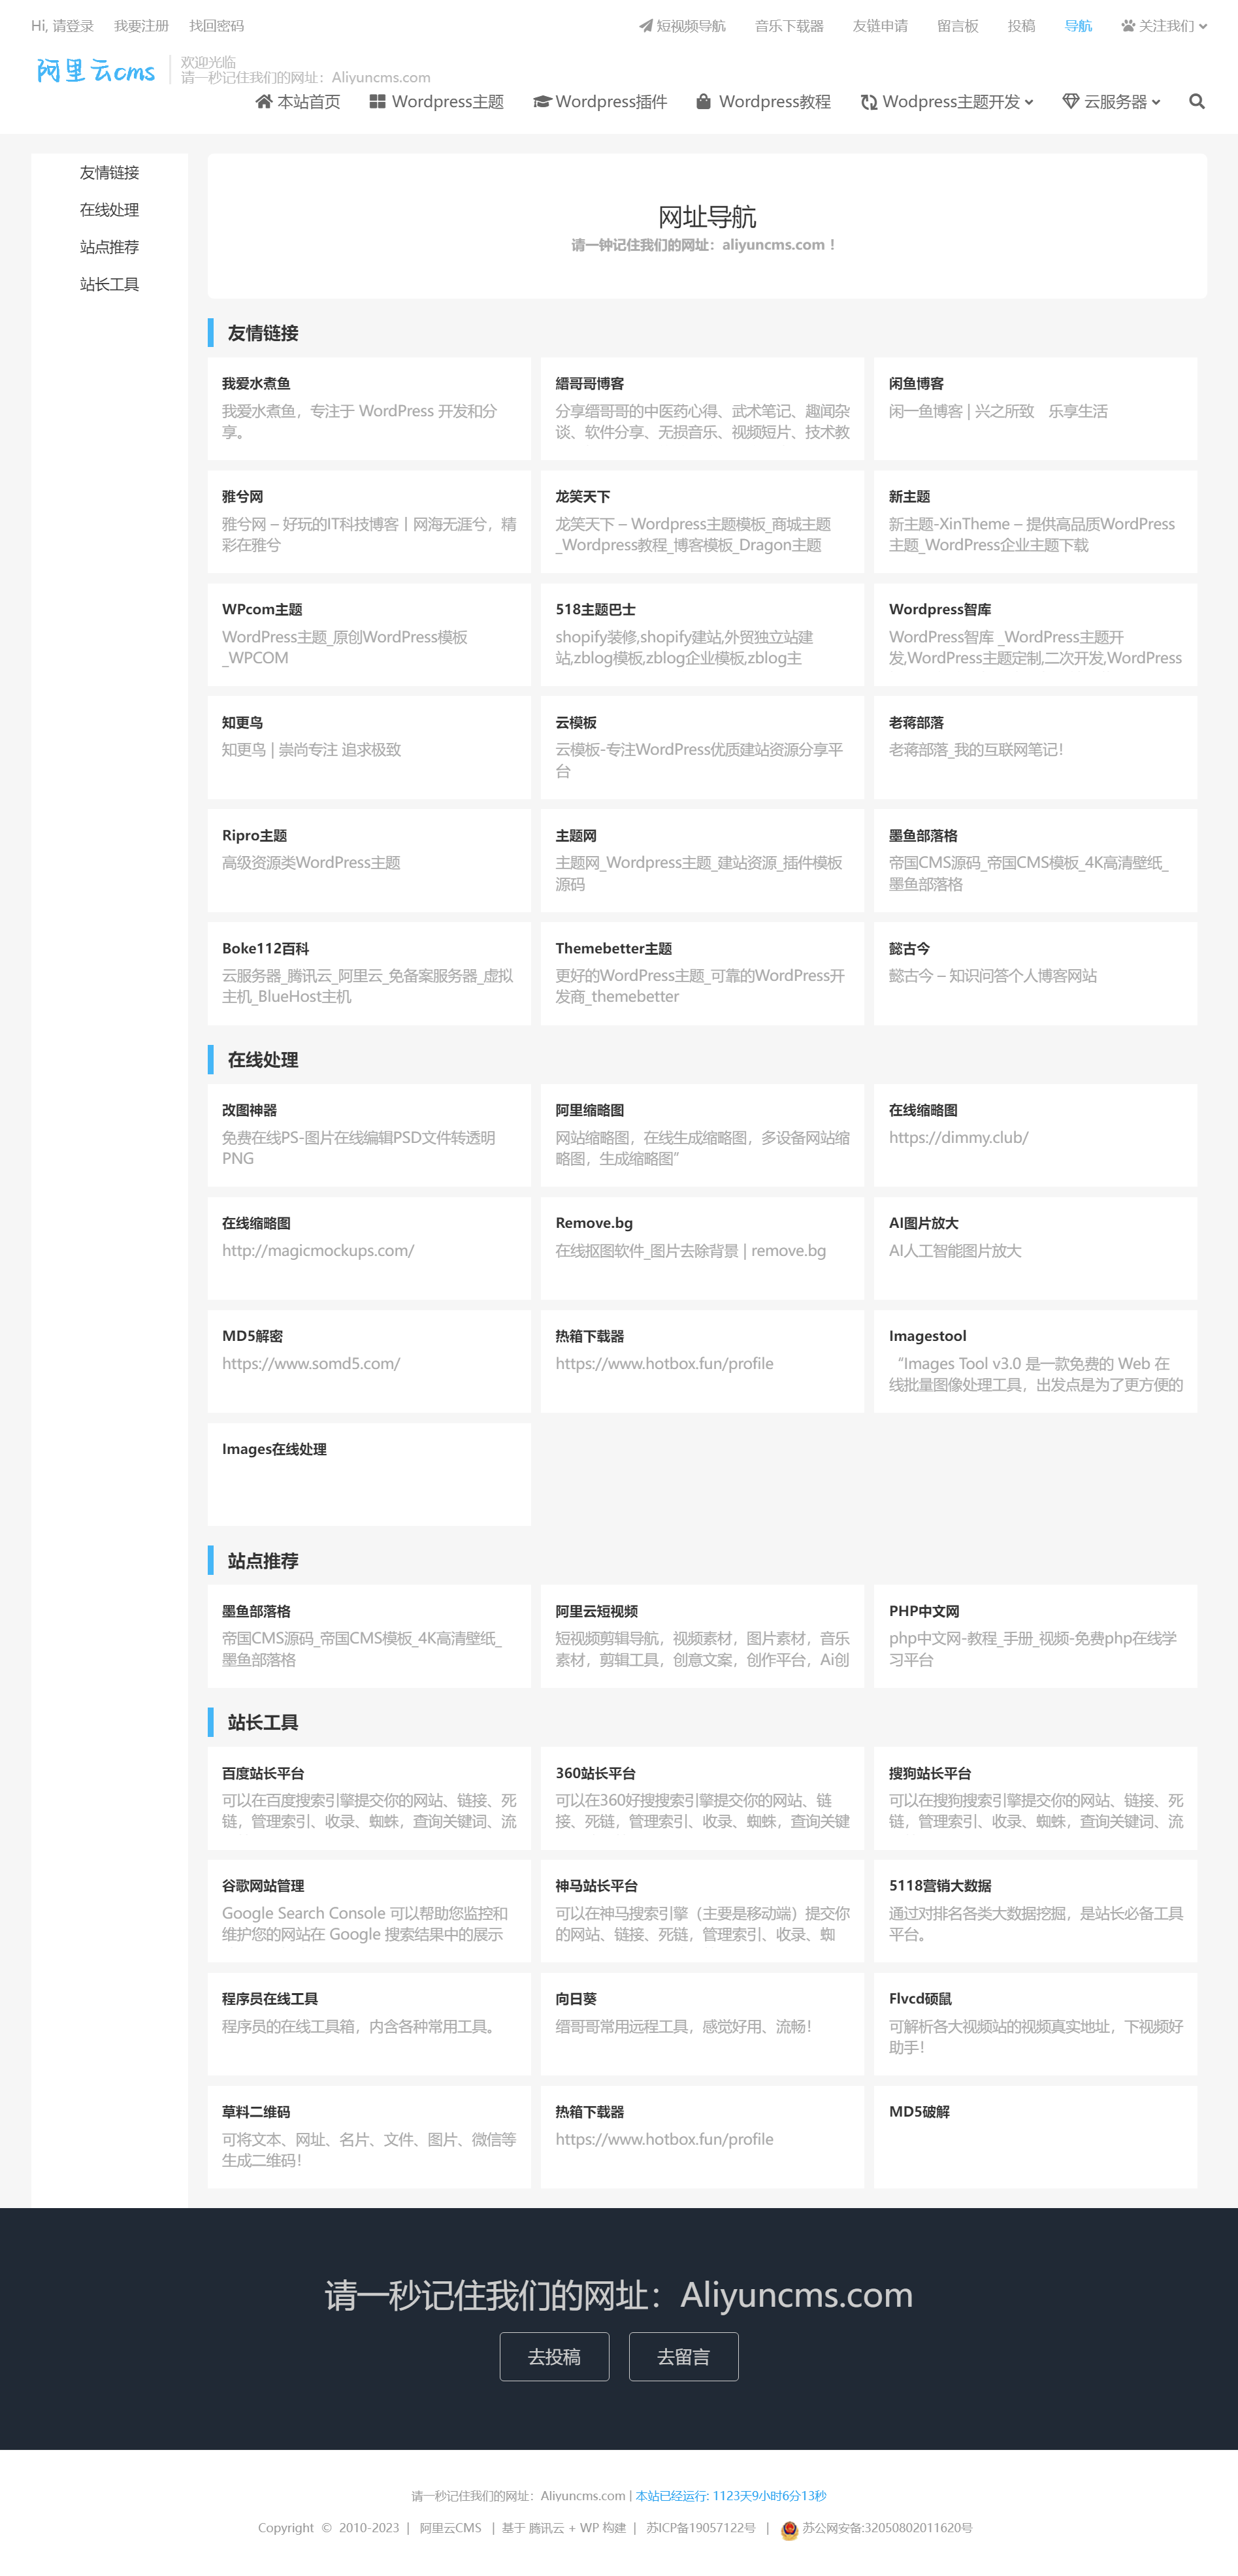
7.重写了网址导航页面,

8.增加了另类导航-本站主做短视频导航

9.综合调整。

调整了首页侧边栏,幻灯片banner 自适应的bug,调整了面包屑导航的内容,以及网站从主页到文章,页面自适应的各种问题。

这次魔改也要感谢下面几位博主数据的支持

网址导航:缙哥哥博客的网址导航;
投稿页面:露兜即刻投稿功能添加富文本编辑器
首页四栏,有图无图两栏:Boke112百科
再次感谢各位大佬的支持,拜谢!

WordPress外观-自定义报错解决:Uncaught Exception: Supplied nav_menu_item..

时间煮雨阅读(1003)

最近不少用户反馈说WordPress后台的外观-自定义点开后直接报错,错误信息如下:

Fatal error: Uncaught Exception: Supplied nav_menu_item value missing property: description

这个错误其实是WordPress程序的内部错误,但我们给出了一个解决的办法。

解决办法:
复制以下代码到主题的 functions.php 中即可
add_filter('wp_get_nav_menu_items', 'my_wp_get_nav_menu_items', 10, 3);
function my_wp_get_nav_menu_items($items, $menu, $args) {
    foreach($items as $key => $item)
    $items[$key]->description = '';
    return $items;
}

针对次错误,如果你有其他更好的解决办法,可以评论分享一下。

本来是themebetter原创,转载请注明:https://themebetter.com/supplied-nav-menu-item.html

WordPress如何截取文章摘要|文章标题|文章内容字数

Aliyuncms阅读(1799)

在制作WordPress主题时,尤其是首页和类别页面时,我们需要控制文章的摘要和标题中的字数,以使整体布局更合理,更美观。 今天,与你分享几种截取WordPress文章摘要内容和标题字数的方法。

一、使用WordPress内置函数wp_trim_words()进行截取

WordPress的内置wp_trim_words()函数专门用于限定字数的内容,例如文章摘要,内容和标题。

<?php
echo wp_trim_words( get_the_content(), 55 ); // 文章内容
echo wp_trim_words( get_the_excerpt(), 55 ); // 文章摘要
echo wp_trim_words( get_the_title(), 30 ); // 文章标题
?>

wp_trim_words()函数基本用法:

<?php $trimmed = wp_trim_words( $text, $num_words = 55, $more = null ); ?>
参数说明:
$text(字符串) (必需) 要截取的内容,默认: 无;
$num_words(整数) (可选) 限定的字数,默认: 55;
$more(字符串) (可选) 截取后加在尾部的字符,默认: ‘…’

示例说明:

<?php
$content = get_the_content();
$trimmed_content = wp_trim_words( $content, 55, '<a href="'. get_permalink() .'"> ...阅读更多</a>' );
echo $trimmed_content;
?>

Ps:可以修改上面的数字55来设定长度。

二、使用php函数mb_strimwidth()进行截取

mb_strimwidth是一个超轻量级的php函数,用于获取指定宽度截断字符串。
mb_strimwidth()函数基本用法:

<?php
echo mb_strimwidth(get_the_title(), 0, 30,"...");
?>
<?php
mb_strimwidth(string $str,int $start, int $width [,string $trimmarker [, string $encoding ]] )
?>
参数说明:
$str //指定字符串
$start //指定从何处开始截取
$width //截取文字的宽度
$trimmarker //超过$width数字后显示的字符串

示例说明:

1.平时我们调用文章标题都是这样:

<?php the_title(); ?>

现在我想控制标题的输出字数,只需要使用mb_strimwidth函数后变成这样:

<?php echo mb_strimwidth(get_the_title(), 0, 30,"..."); ?>

注:可以修改上面的数字30来设定长度。

三、使用原生函数customTitle()进行截取

将下面的代码添加到主题的functions.php文件中:

function customTitle($limit) {
    $title = get_the_title($post->ID);
    if(strlen($title) > $limit) {
        $title = substr($title, 0, $limit) . '...';
    }
    echo $title;
}

在需要调用的地方添加下面的代码即可:

<?php customTitle(30); ?>

四、使用自定义函数cut_str ()进行截取

//标题截断
function cut_str($src_str,$cut_length){$return_str='';$i=0;$n=0;$str_length=strlen($src_str);
        while (($n<$cut_length) && ($i<=$str_length))
        {$tmp_str=substr($src_str,$i,1);$ascnum=ord($tmp_str);
        if ($ascnum>=224){$return_str=$return_str.substr($src_str,$i,3); $i=$i+3; $n=$n+2;}
        elseif ($ascnum>=192){$return_str=$return_str.substr($src_str,$i,2);$i=$i+2;$n=$n+2;}
        elseif ($ascnum>=65 && $ascnum<=90){$return_str=$return_str.substr($src_str,$i,1);$i=$i+1;$n=$n+2;}
        else {$return_str=$return_str.substr($src_str,$i,1);$i=$i+1;$n=$n+1;}
    }
    if ($i<$str_length){$return_str = $return_str . '...';}
    if (get_post_status() == 'private'){ $return_str = $return_str . '(private)';}
    return $return_str;};

在需要调用的地方添加下面的代码即可:

<?php echo cut_str($post->post_title,30); ?>

请一秒记住我们的网址:www.xinfangs.com !

去投稿去留言